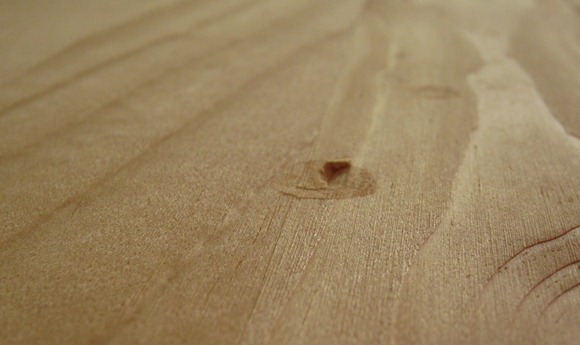
At the end of part 1 of this experiment, I was sure this was going to be another big fat FAIL. On day 7, the vinegar in the jars weren't changing color anymore than they had on day 2. Vinegar and steel wool alone was supposed to produce a reddish hue.
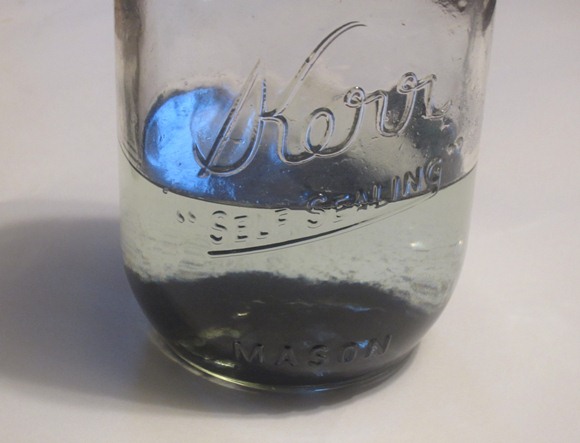 |
| Ummm, yeah.. am I color blind or is this no where near any version of red at all? |
The tea stain color was just supposed to give off an obvious tea colored shade and the coffee was the same (only it was supposed to present with black not dark brown.) The pennies and vinegar mix was supposed to reveal a pale Caribbean blue stain.
 |
| Ironically, it seems like if anything the pennies are more likely to give off the reddish hue and the steel wool is looking more like it could present with a Caribbean blue kind of color! |
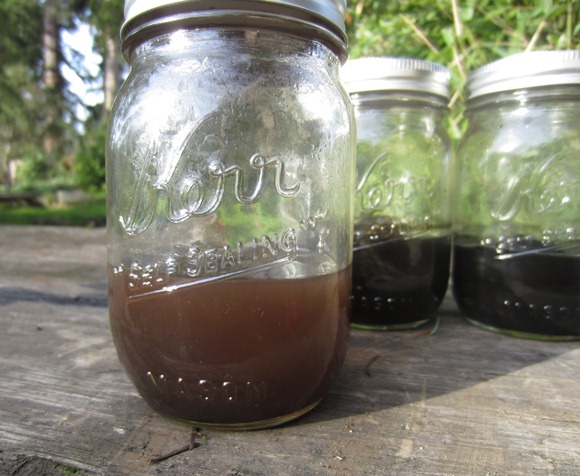
These are the results after 24 hours:
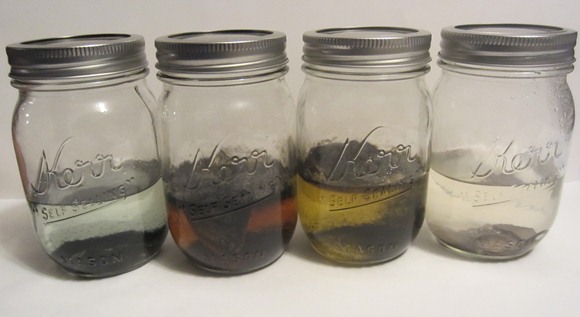 |
| From left to right: Steel wool, steel wool/coffee, steel wool/tea, pennies and vinegar |
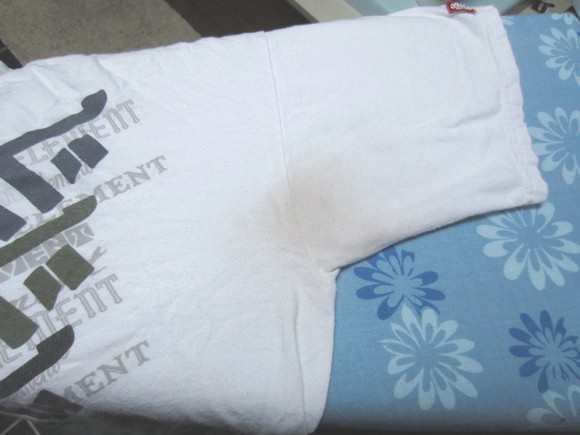
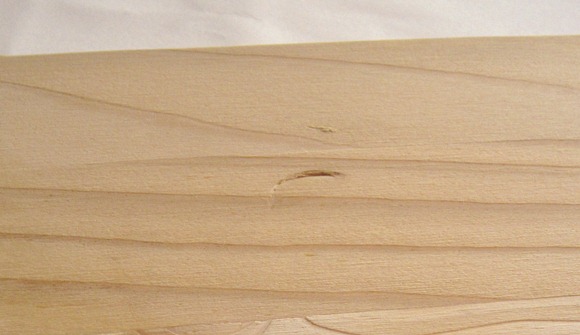
I waited a full week, per the pin-structions! In my mind the natural wood stain idea was a failure already but alas an interesting turn of events happened that day. I liberally applied each each stain in sections to an unfinished piece of pine wood board. I left it alone for a few minutes and came back to see if there were any noticeable pigments. In the photo below it was just one heavy coat of each stain in the process of drying.
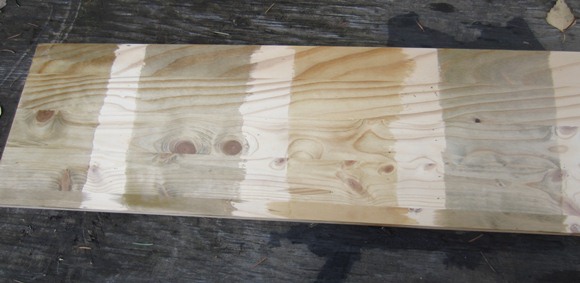 |
| First coat- Left to right: Steel wool, tea, pennies, coffee |
At this point, there wasn't anything too impressive going on. The steel wool stain wasn't looking reddish at all, but instead more of what I'd describe as a dark green tea type of color. The tea stain (which was actually an herbal green tea blend) looked very similar to the steel wool only stain. The pennies honestly just looked like wet board. There really was no color to it and I just assumed that once it fully dried it wouldn't show much color at all. The coffee stain did in fact come out the darkest, appearing pale black as it was supposed to.
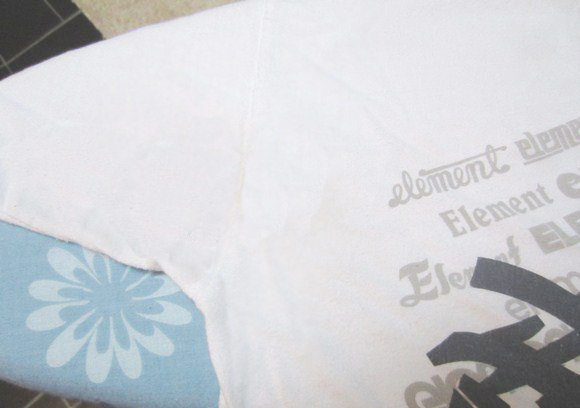
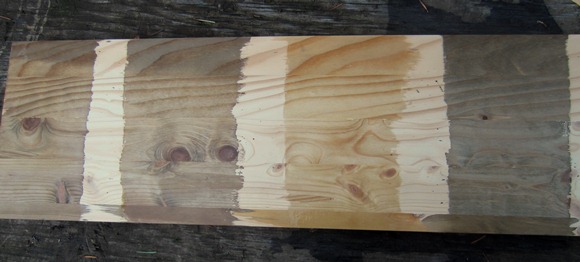 |
| Second coat- Left to right: Steel wool, tea, pennies, coffee |
I tried to get a good picture but it was overcast and I don't have the greatest camera in the world (someday!) so we'll try to work with this. The tea and coffee remained the same shade just darker. The steel wool did begin to show a bit of red when compared with the tea, but definitely not enough for me to call it a "reddish" stain color. Now the pennies surprised me a bit and this is the one where the picture just doesn't do it justice. The penny stain actually did have a slight blue tint to it. The color that's there, while it does just seem like a darkened wet spot is actually a blueish wet spot. I definitely didn't see that happening based on what was sitting in the jar!
About 20 minutes later I noticed the colors in the jar had changed. It would seem that once each stain was exposed to the air, all the ingredients started to work together to do what they were supposed to!
Check out the progression of the steel wool only stain:
 |
| The steel wool only stain is on the left. |
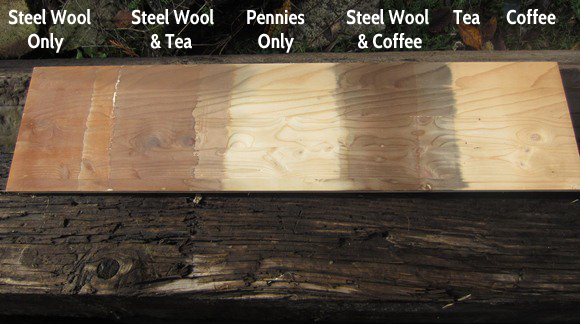
Below you can see what they all looked like in the end. You can see the darkened effect after the stains have fully oxidized and shaken up a bit. The steel wool only stain just looks muddy instead of reddish but it still showed reddish when applied to the wood.
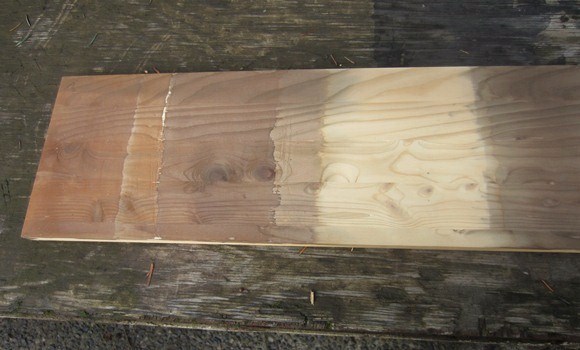
The point is, though, that... It worked! See below how the colors totally changed from the initial coat?! I applied 2 coats of each stain after they had oxidized which makes 3 total coats. The skinny sections to the right are 1 heavy coat each because I was interested to see what 1 single coat would have looked like had I known how air exposure would effect the color of each stain!
A couple interesting things to note: The pennies did in fact present with a "pale Caribbean blue" type of hue, but it was so pale that you'd likely need way too many coats to make it worth your while. On the far right of the board are just the tea and coffee stains alone with no steel wool. Clearly, steel wool is the way to go if you want sufficient pigment!
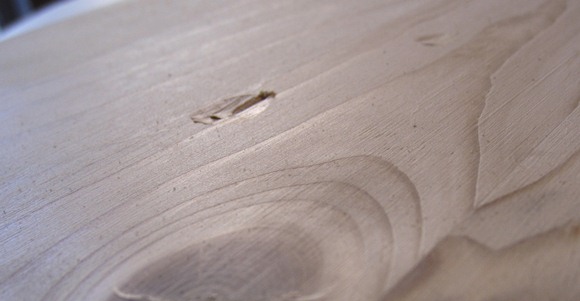
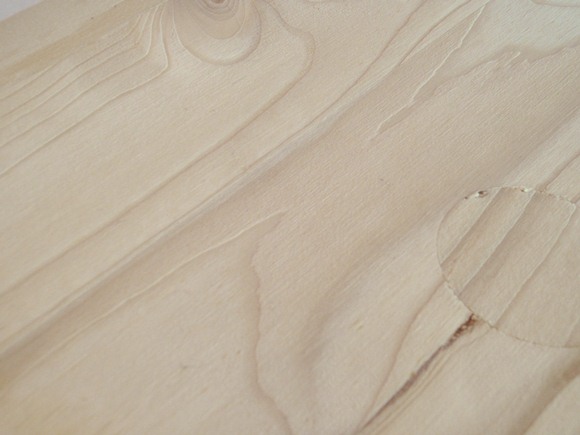
So there you have it! The natural wood stain using a steel object soaked in vinegar was a SUCCESS! Steel wool gave the best, most reliable result. Me, personally, I'd skip the pennies all together and I definitely wouldn't waste my time using only tea or only coffee. But if you'd like to play around with a fun, non toxic stain option that actually works. Give it a try. Just make sure you let that stuff breathe a little!


